


Your shopping cart is empty!
MENU
.png)
Your shopping cart is empty!
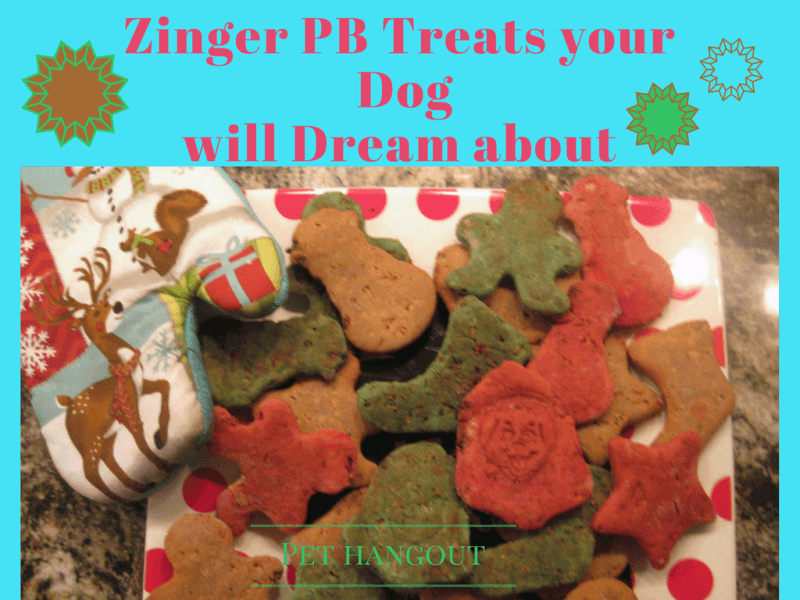
Zing Zang Bing Bang -This recipe is so Easy and Delish!
Ever wonder about the quality of ingredients in all those luscious treats you feed your dog? It’s a known fact that some treats have fillers like corn and by-products that we really don’t want think about, much less name.
Our goal today is to give you a fresh, healthy alternative to the sea of “not so healthy” treats out there. If you are willing to invest a little time for your treasured pup, we guarantee they will absolutely gobble up these treats AND you can feel good about what is going down the hatch!
Once you get the hang of making these, we think your creativity will go wild.
Let’s get started!
Ingredients you will need:
Tools you will need:
1. In a bowl, mix together the flour, water, and eggs. NOTE: It will be a thick mix that you cannot easily stir with a spoon. You will need to press and mash the mix together with your spoon. It will be thick and lumpy and a bit tough to deal with. This is normal – do not panic!
.png)
2. Fold in the peanut butter. Now, the mix becomes sticky too! You will still need to fold the mixture over, press, and mash together.
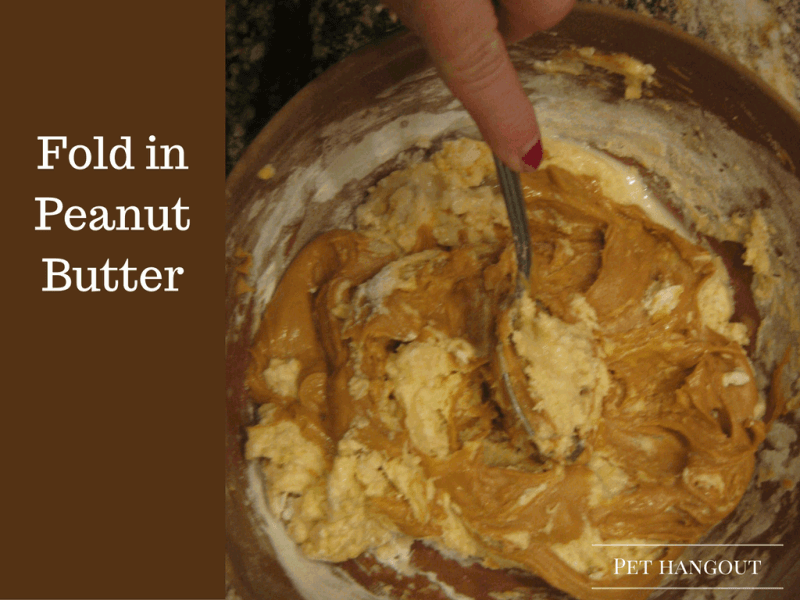
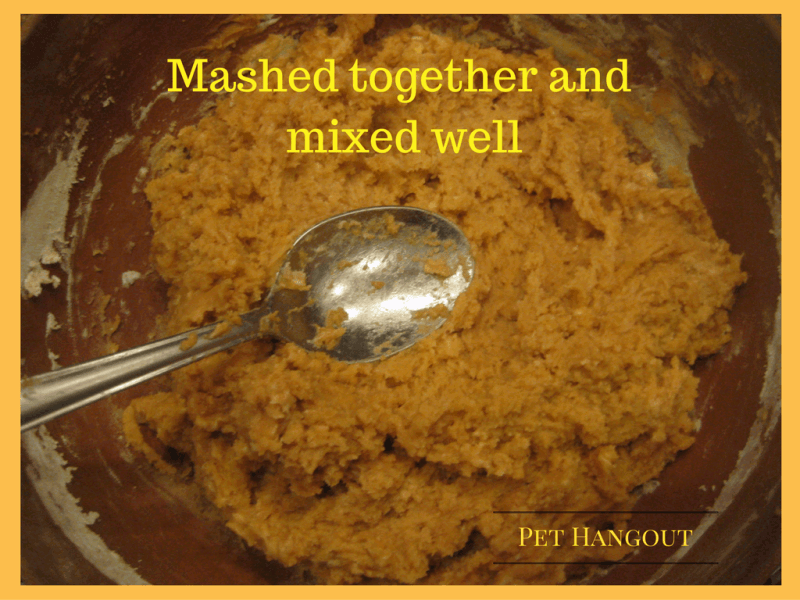
3. Keep pressing together until the peanut butter and flour are thoroughly mixed together. The cream and brown colors should now look something like this…
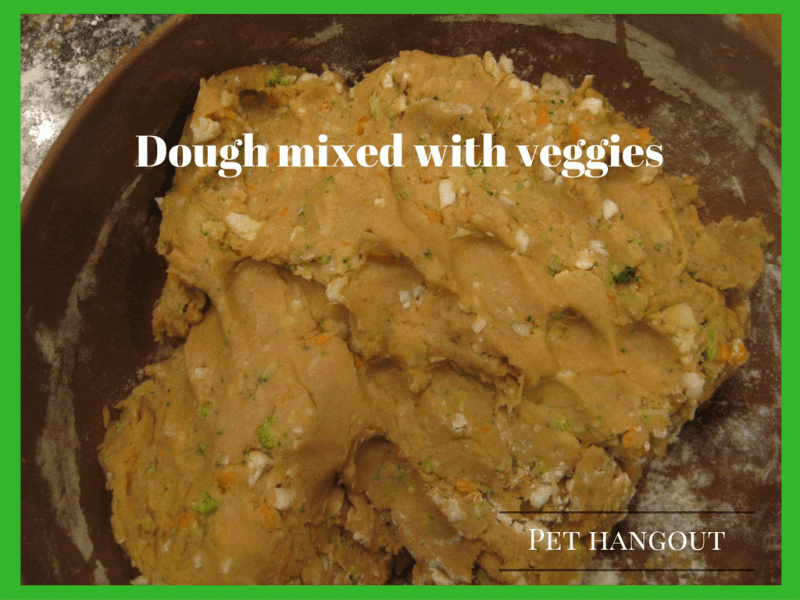
4. Next, using your knife and chopping board, hand chop the veggies. (We like this better than a food processor because we can get the consistency just right. If you prefer a food processor, this is fine.)
.png)
5. Mix chopped veggies into blended dough. Your dough is thick and a bit sticky right now… this is good. This is probably a good time to put down the spoon and mix with your hands. (And it's a good idea to take off all rings!)
6. Prepare your counter surface with some flour so that the dough will not stick to it.
 (1).png)
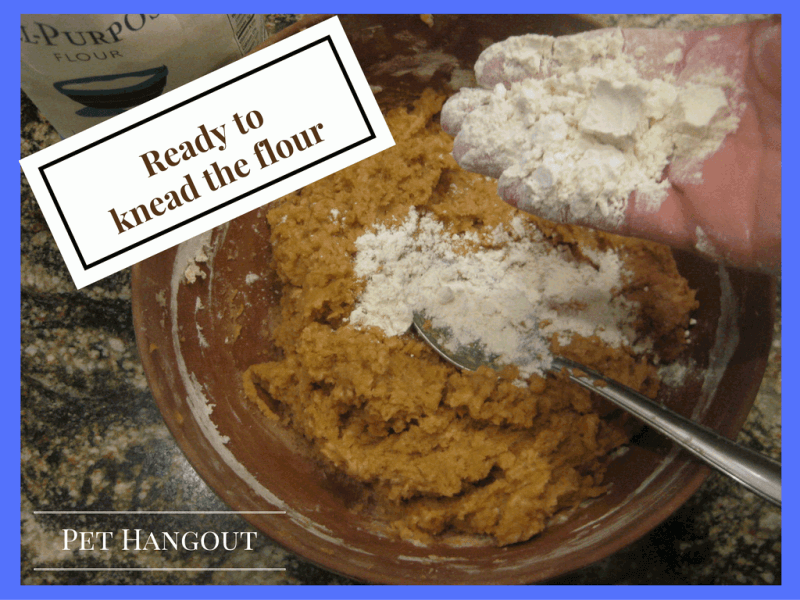
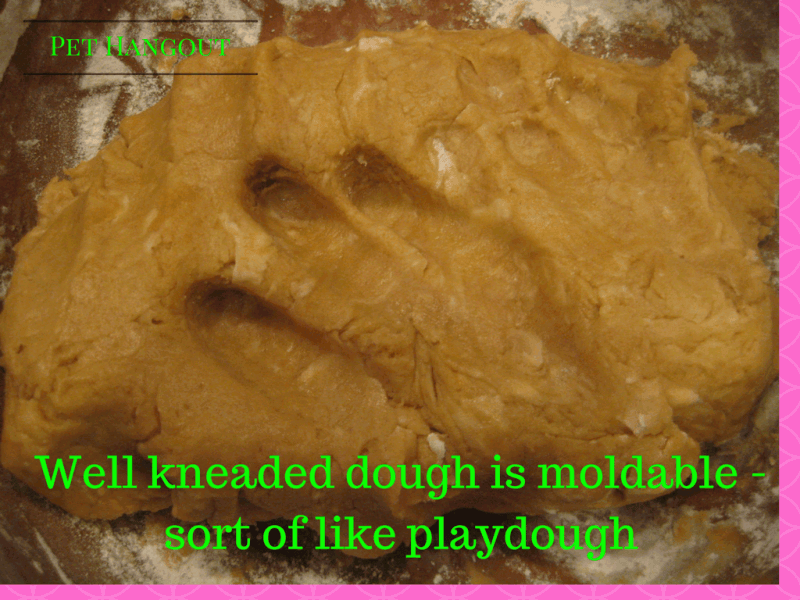
7. Place your dough mix onto the counter. Grab a handful of flour and begin working it into the dough mix - You are now kneading! Your goal is to make the dough the consistency of playdough (think pliable and moldable). Keep folding flour into it until you get this consistency. If too hard and thick, add a little water. If too runny, add a bit more flour. (This is what your reserve flour and water supply is for.) Keep working it with your hands until the dough doesn't stick to your hands and is moldable.
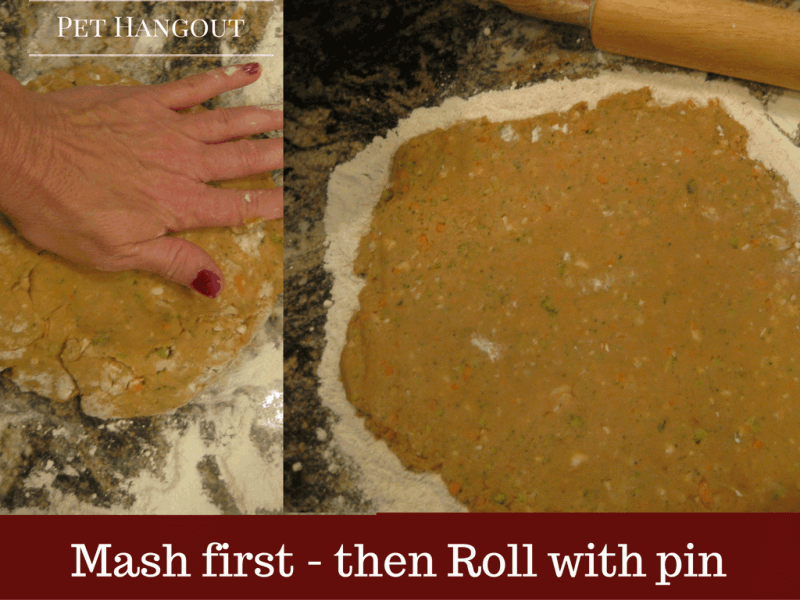
8. Press dough flat with you fingers. Next, rub some flour on your rolling pin and roll dough mix making sure it is level everywhere.
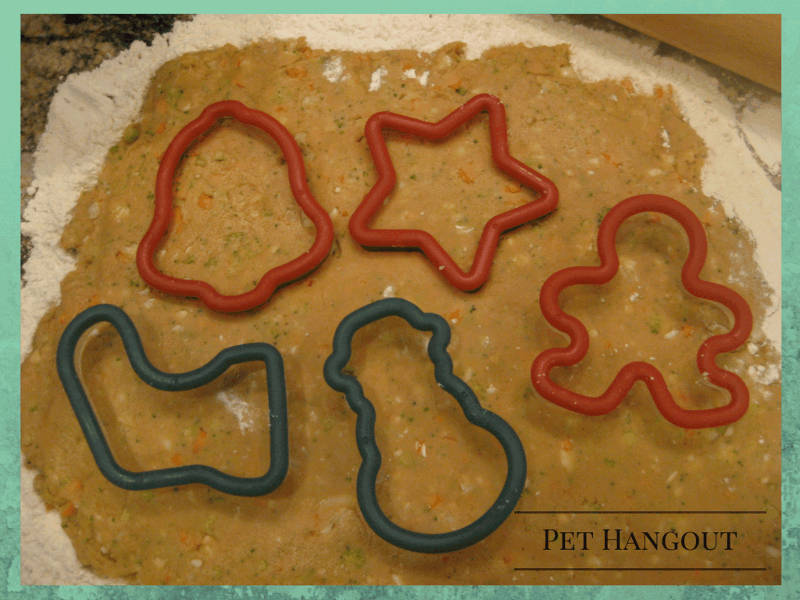
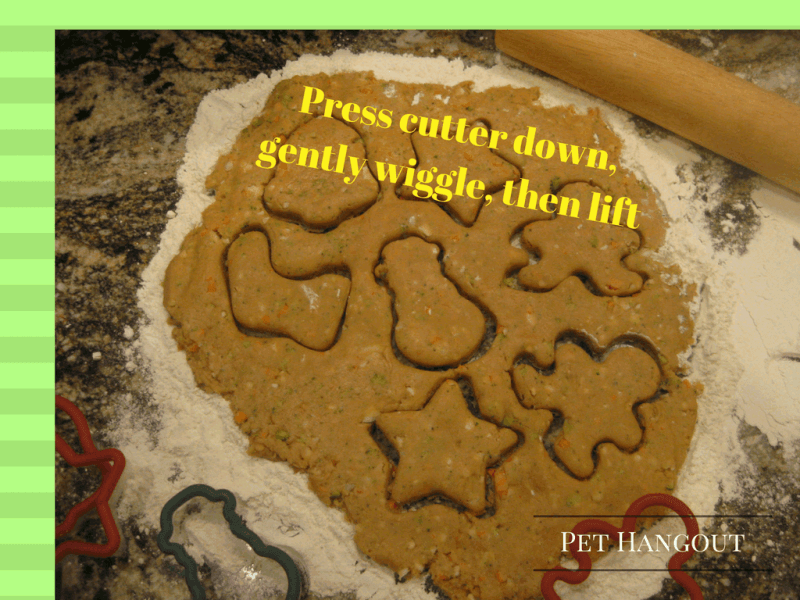
9. Using your cookie cutters, press gently into dough and make the cutouts. Slowly wiggle cutter a bit to loosen dough around the edges. Lift all cutters up.
10. Slowly tear the dough around the cutouts and place cutouts to the side.
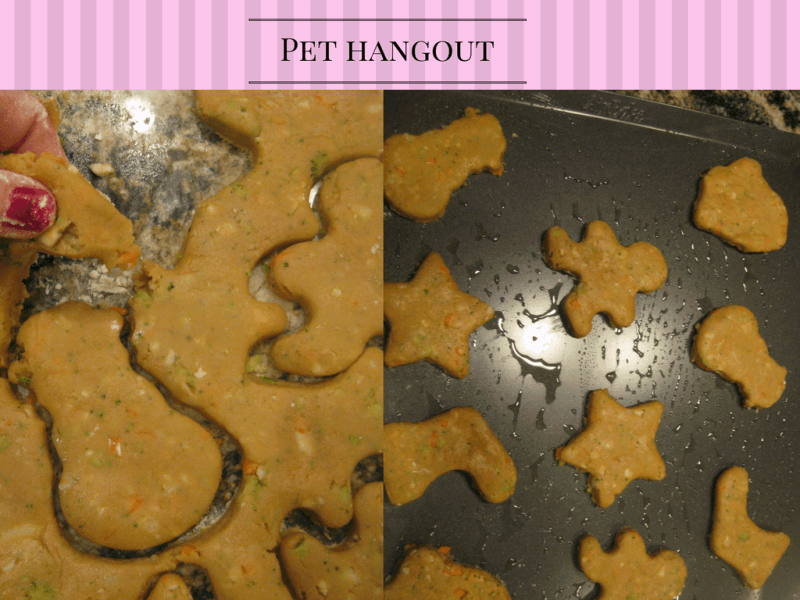
11. Grab leftover dough, pack together, and press out again on the counter. Repeat the process of rolling with your pin and making cutouts until all dough has been used up.
12. Place cutouts on nonsticking (or greased) baking sheet. Bake @ 350 degrees for 25 minutes.
13. (Optional) Remove treats from oven, top with olive oil or honey and return to oven. BROIL for 2 minutes – watch closely or they will burn!! This step gives a nice glaze on the top.
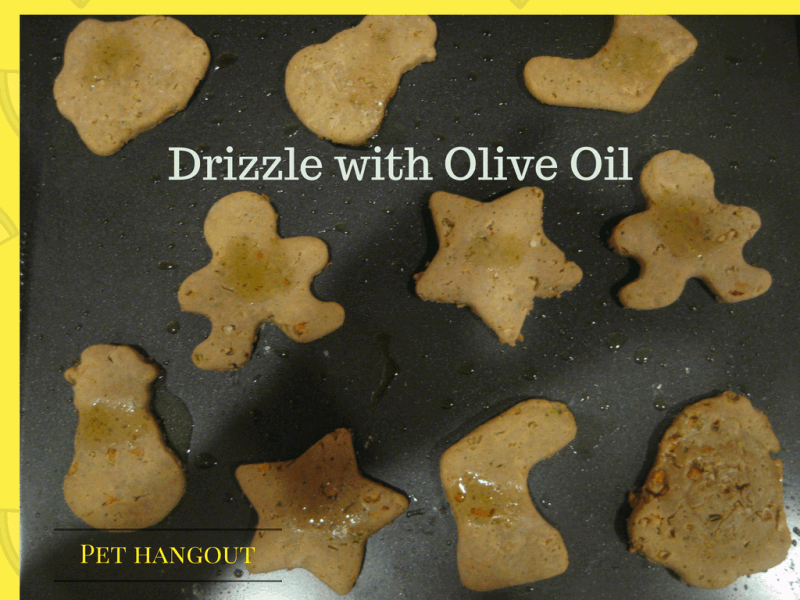
14. Remove and let cool before feeding to your pet or placing in a container.
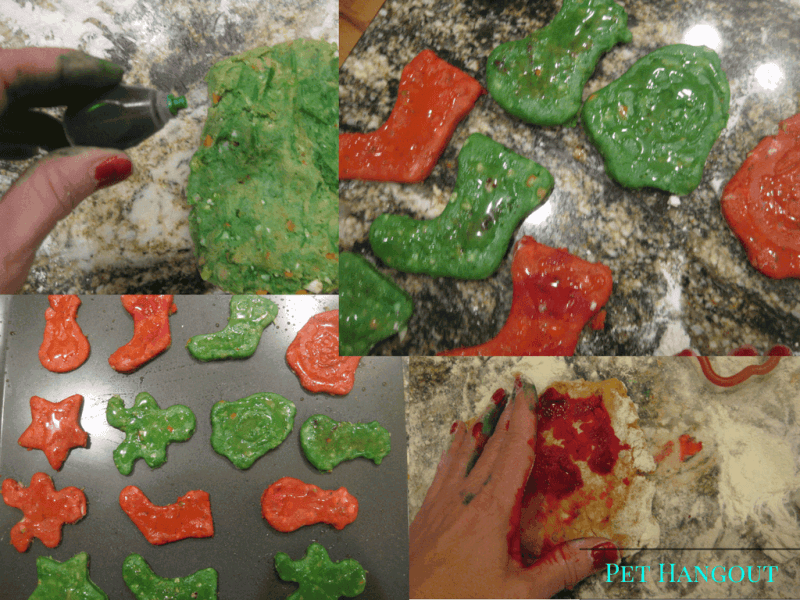
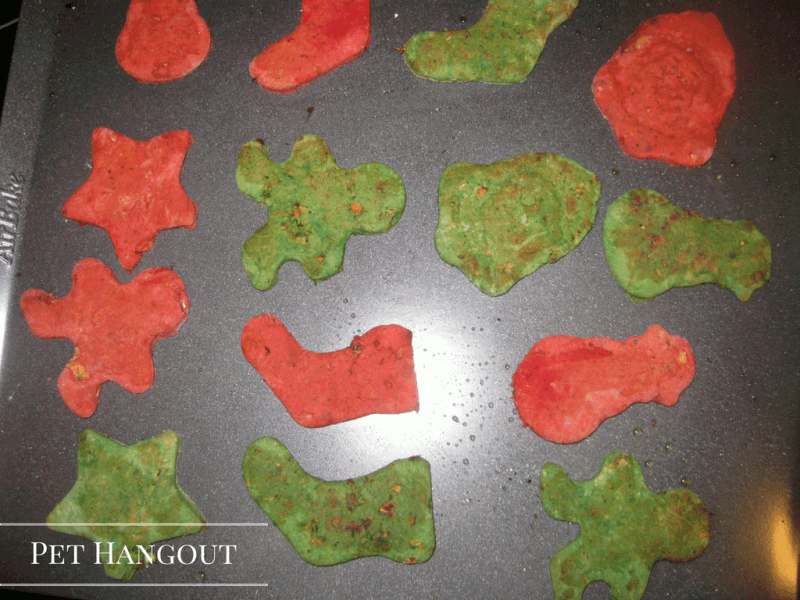
15. (Optional) After step 7 (above) has been completed, you can add some green or red food coloring if making for the holidays. We don’t normally recommend adding coloring to your dog treats, but on occasion it is okay and can be fun for you!! Our doggies probably DO NOT care what color they are!!
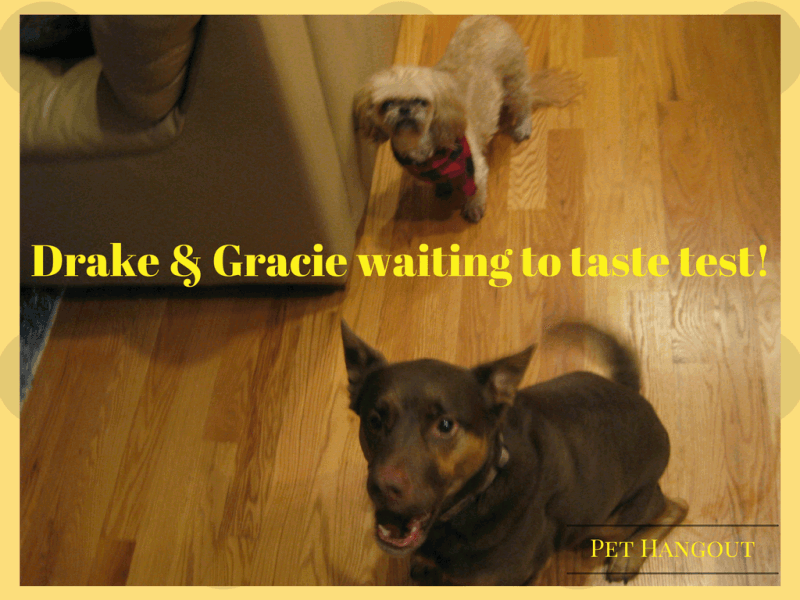
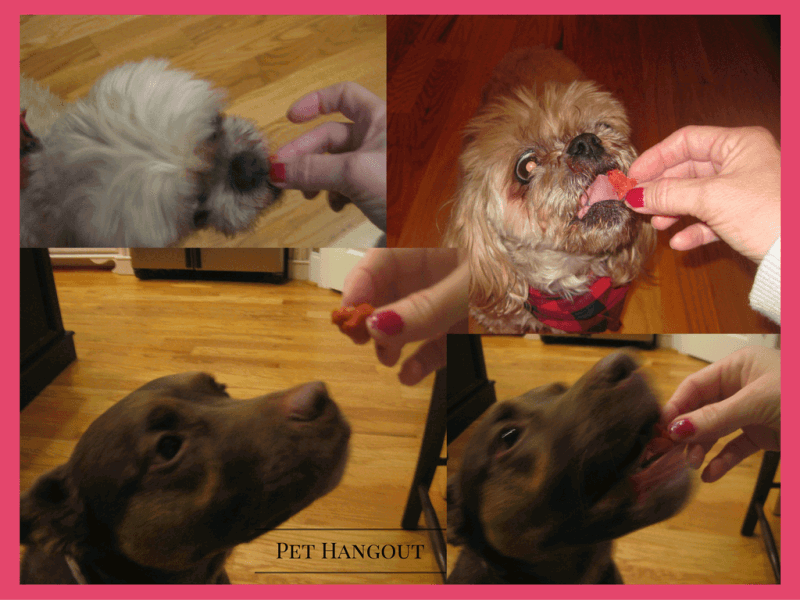
We let our office dogs, Drake and Gracie, give our scrumptious treats the ultimate test. We can say without a doubt that they both did love and adore them and have been begging for more every day since we baked them!! They may be a little bit spoiled! Gracie's rating --> 4 out of 5 stars. Drake's rating --> 5 out of 5 stars.

A few notes of caution: You will want to be sure your dog DOES NOT have food allergies like peanuts or gluten before following this recipe. Please check with your vet if you are not sure! These treats are also considered human-grade which simply means ingredients are approved to be consumed by a human. Normally, dog treats are mostly feed-grade which means the ingredients are not approved by the FDA for human consumption.
~~ We also encourage you to experiment with other healthy ingredients that would compliment this recipe! ~~
You're on a roll, head on over to learn our Top 100 Cool Dog & Cat Names, see some Amazing Military Dog Pics, or Discover 7 Exciting Facts about the Sensational Siamese.
Do you plan to make these treats?
Did you make these treats?
We want to hear about your experience – whether good or bad!
Chime in below... and happy dog treat baking!
Would you click Pet Hangout's LIKE box please?


